How To Replace Rear Wheel Bearing
Your vehicle’s performance will be impacted whenever you have a worn out or faulty rear wheel bearing. As long as you have some experience with car repairs, you’ll be able to replace the wheel bearing yourself. Use our complete guide below.
Necessary Tools And Materials
Safety has to be your first priority when attempting to replace a wheel bearing as a DIY project. Have your vehicle parked on a level surface and then engage the parking brake and chock the wheels opposite the ones you will be working on.
Here are the tools and materials you will need for this task:
- Gloves.
- Eye protection.
- Sealant.
- Grease.
- Torque wrench.
- Jack and jack stands.
- Socket wrench set.
- Impact wrench.
- New rear wheel bearing.
How To Change A Rear Wheel Bearing
Use this simple, step-by-step outline to properly change out a rear wheel bearing on your vehicle.
Step 1. Remove The Wheel
- With your socket wrench in hand, loosen the lug nuts on the wheel.
- Refrain from removing the lug nuts entirely, at this time.
- Jack up the vehicle, securing it on the jack stands as you prepare to detach the lug nuts.
- Remove the lug nuts entirely and detach your wheel afterward.
Step 2. Take Apart The Brake Caliper
- Start by unbolting the brake caliper mounting bolts.
- Lift this off the rotor with caution.
- Suspend it with a wire or bungee cord in order to prevent any brake line damage.
Step 3. Remove The Brake Rotor
- Slide the brake rotor completely off the wheel hub.
- If the rotor is stubborn and hard to move, tap the part with a hammer and chisel gently.
Step 4. Loosen Axle Nut
- Locate the axle nut found near the center of the wheel hub.
- Loosen the part with a socket wrench, but do not remove it completely.
Step 5. Detach The Wheel Hub
- Now you can remove the axle nut using either a heavy-duty socket wrench or impact wrench.
- Slide the wheel hub off the axle entirely.
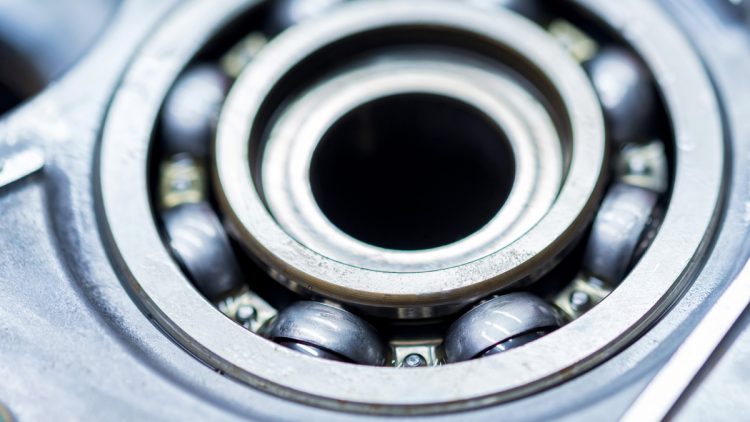
Step 6. Replace The Wheel Bearing
- Press your existing wheel bearing out of the hub with the use of a bearing removal tool or a socket and hammer.
- Apply some grease to the new wheel bearing after appropriately cleaning the hub.
- Gently press the new rear wheel bearing into place.
Step 7. Reassemble The Components
- Slide the wheel hub back onto its proper axle.
- Tighten the axle nut according to the recommended torque.
- Replace both the brake rotor and brake caliper next.
- Tighten the caliper mounting bolts, reconnecting the brake line.
Step 8. Mount The Wheel
- Put your wheel securely on the hub and tighten the lug nuts (hand-tight).
- Lower the car and use your torque wrench to securely tighten the lug nuts.
DIY Vs Professional Wheel Bearing Replacement
You should be able to now safely and efficiently replace your rear wheel bearing by following the above guide. Doing this task helps restore your vehicle’s smooth performance out on the road.
In the event you notice any unusual noises or vibrations during this project, it’s best to contact the team at Automatic Transmission Exchange for more information!
Transmission Service, Repair, & Replacement Services in Phoenix, AZ
We offer a full range of auto transmission repair and replacement services from automatic transmission to manual transmission to the entire Phoenix Metro area.
*Disclaimer – This is not an actual quote. Your transmission repair or replacement cost could be different than the prices you see on this guide. The only way to get an actual estimate is by searching for transmission repair and replacement shops near you. Contact Automatic Transmission Exchange if you are in the Phoenix area and need transmission repair or replacement.